CO2 Laser Machines for Laser Engraving
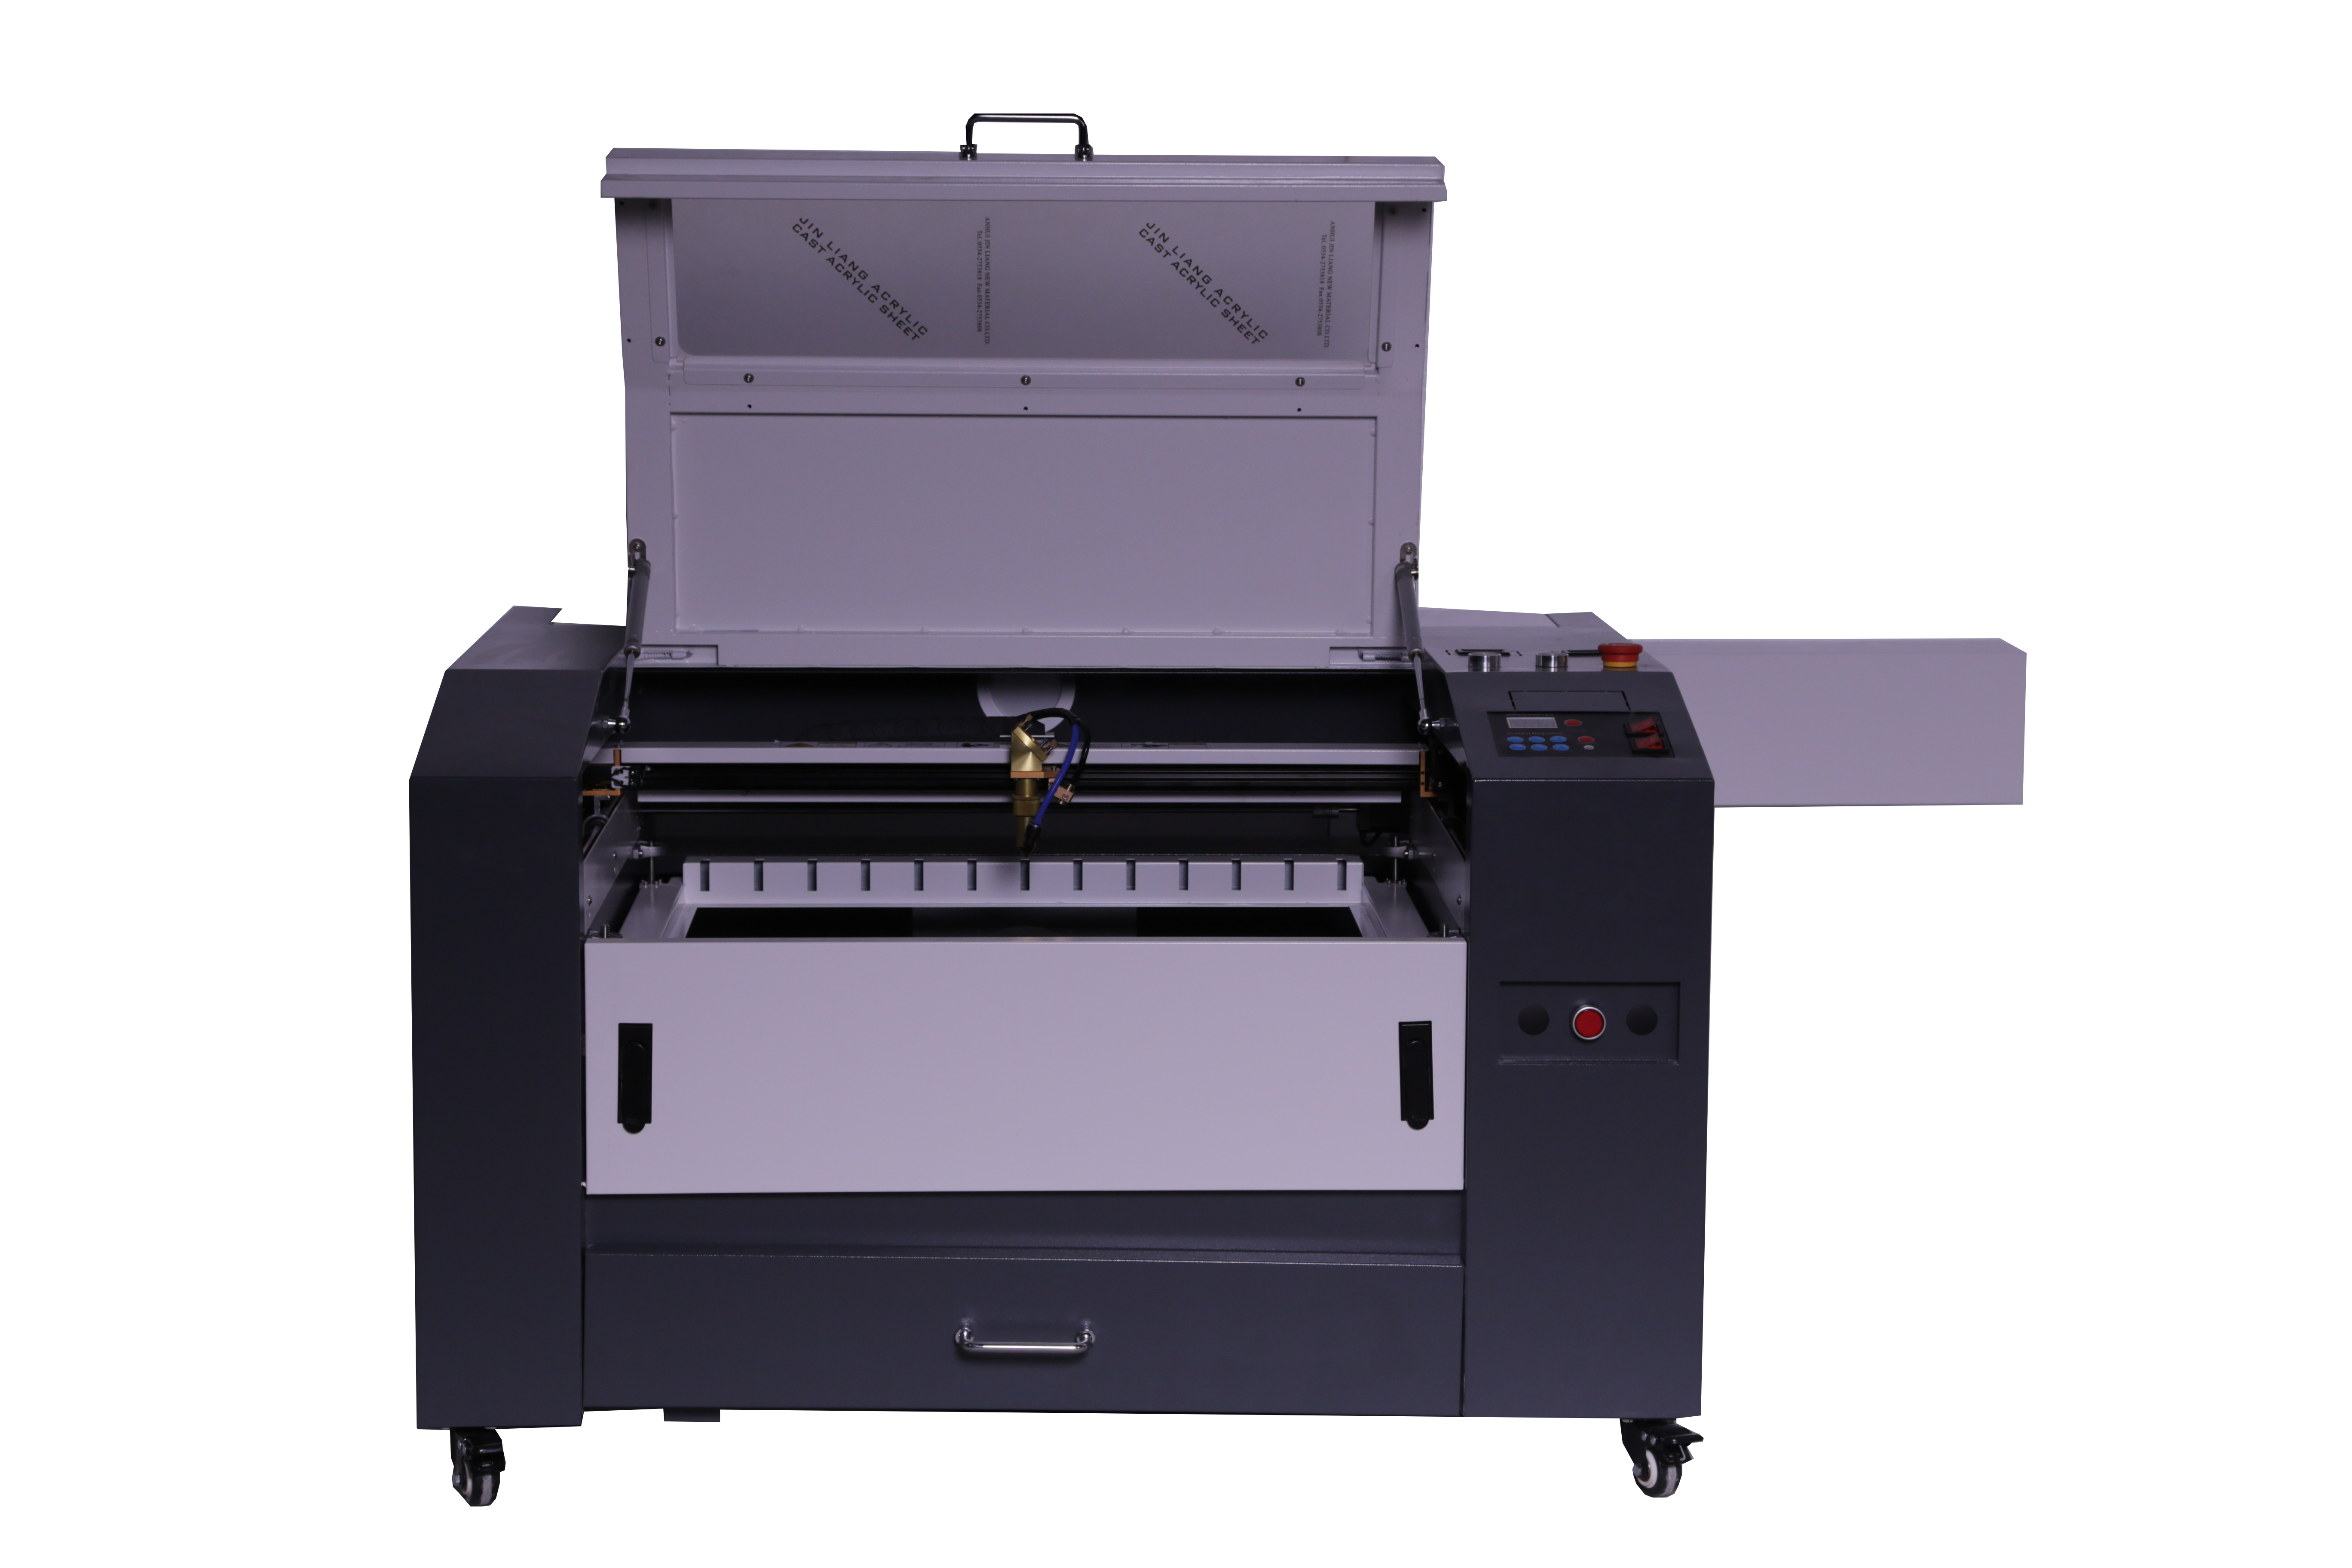
Are you already using a CO2 laser machine for engraving or cutting, and want to push its limits? Here are fifteen basic laser engraving tips that can optimize every step of your project. From engraving precision to cutting quality, and personalized settings suitable for your needs in manufacturing and signage.
Laser cutting techniquesAchieve impeccable results
1. Start with cutting the internal
shapeTo ensure a high-quality result, the internal shape should be cut before cutting the external shape, especially when using a nail board. This helps prevent the workpiece from moving or deforming. you can set color codes to define the cutting order, thus improving cutting efficiency. This is one of the most important laser cutting tips.
2. Optimize airflow
To ensure very precise cutting, especially when cutting materials such as wood or rubber, you can optimize the airflow of the CO2 laser machine by integrating a laser nozzle. This not only protects the lens from dust but also ensures a clean cutting effect.Note: Using a laser nozzle can help blow away smoke and material residue more effectively during the cutting process. This prevents these residues from being re-heated by the laser and adhering to the edges, which can make the surface appear slightly irregular and affect its appearance.
Laser cutting techniquesMaster the cutting effect of the edges.
3. Adjust DPI
To perfectly control edge effects, you can adjust the DPI (dots per inch) according to the material. For example, for wood, you can choose a vector mode with 300-500 DPI to avoid scorching or darkening of the edges. Additionally, you can cut with a protective paper overlay to eliminate burn marks and keep the work clean with no dust residue. When working with acrylic, you can use settings higher than 1000 DPI for vector to achieve smooth edges similar to a surface 'flame-polished' finish. This setting ensures clean and tidy cuts, making it an ideal choice for high-end items.
4. Focus
Another type of laser cutting technique is for thick materials. To achieve a straight cut on materials thicker than 3 mm, you need to defocus to one-third of the material's thickness. Material defocus refers to adjusting the value during automatic focusing so that the laser focus is located inside the material rather than on the surface. For example, for wood with a thickness of 10 mm, set a defocus of 3 mm. This may seem very technical, but to achieve the highest precision, every millimeter is crucial! We recommend using a 4" CO2 laser engraving machine lens for cutting thick materials. You can check out our complete guide for more information on how to use laser lenses!
2 machine setting tips for achieving perfect carving.
5. Carved from front to back
Smoke and dust are expelled from the back of the machine. Therefore, carving from the front of the workbench to the back can prevent dust from settling on the newly carved pieces, thus affecting the carving quality.
6. Multiple autofocus on different planes
You also need to work hard to ensure the consistency of the engraving. If there are changes in the flatness of the material, you can use the multiple autofocus feature make several focus adjustments during the engraving process, thus ensuring a perfect final result.
Optimize working hours to improve efficiency.
7. Precision positioning
With the point shooting function of the CO2 laser engraving machine and the red light indicator, precise positioning for engraving or cutting can be achieved even on small objects, greatly simplifying the preparation work.
8. Lower the resolution
Reducing the DPI to about 200-300 can speed up the carving process, but be aware that lowering the resolution may result in less clarity in the details (you need to find an appropriate balance between speed and quality).
9.Vector engraving for positioning
With extremely low power, you can perform vector engraving that is almost invisible to the naked eye, with fine engraving marks that do not affect the aesthetic of the creation. This is particularly useful for layered works where you want to place one shape on top of another without the need for positioning blocks. It is an ideal time-saving method for projects that require assembling cut materials.
10. Contrast of Wood
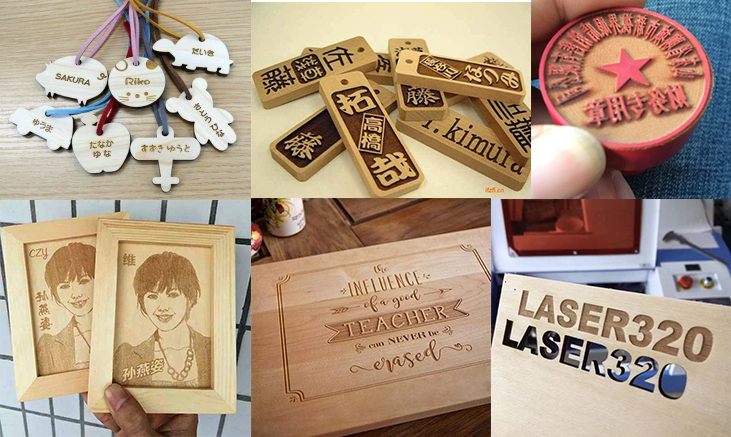
To achieve a black or contrasting engraving effect on wooden products or plywood, you may consider lowering the DPI to about 400 DPI in the scanning mode and defocusing by 2 mm. This will better mark the wood without digging into it.
11.Folded wood
Using lasers can bend wood. For example, you can create elegant hinges with cut dashed lines, which are perfect for projects like boxes or micro-models.
12.Acrylic cutting
For acrylic cutting, the choice of cutting table can affect the engraving quality.A honeycomb worktable is very suitable for securing the workpiece during cutting, but acrylic is very sensitive to laser beam reflection. The edges of the honeycomb may leave marks on the back side.A needle or blade worktable is a great laser cutting tool (compatible with all laser machines). It reduces the contact surface with the material, helping to prevent marks caused by beam reflection, while allowing the cut pieces to fall down without deforming. The needle or blade is arranged at positions where the beam does not pass through the contact points.


Post time: 09-10-2025


